OTOBO / Znuny Setup Guide
OTOBO / Znuny Setup Guide
Open Ticket AI connects to OTOBO/Znuny using a restricted WebService and a dedicated technical user. Follow these steps exactly to ensure the automation works reliably and securely.
1. Create the User open_ticket_ai
This user is used exclusively by the Open Ticket AI engine. It must not have admin permissions. It must have only exactly the permissions required for your automation.
Step 1: Go to Admin → Agents
Use the OTOBO Admin navigation:
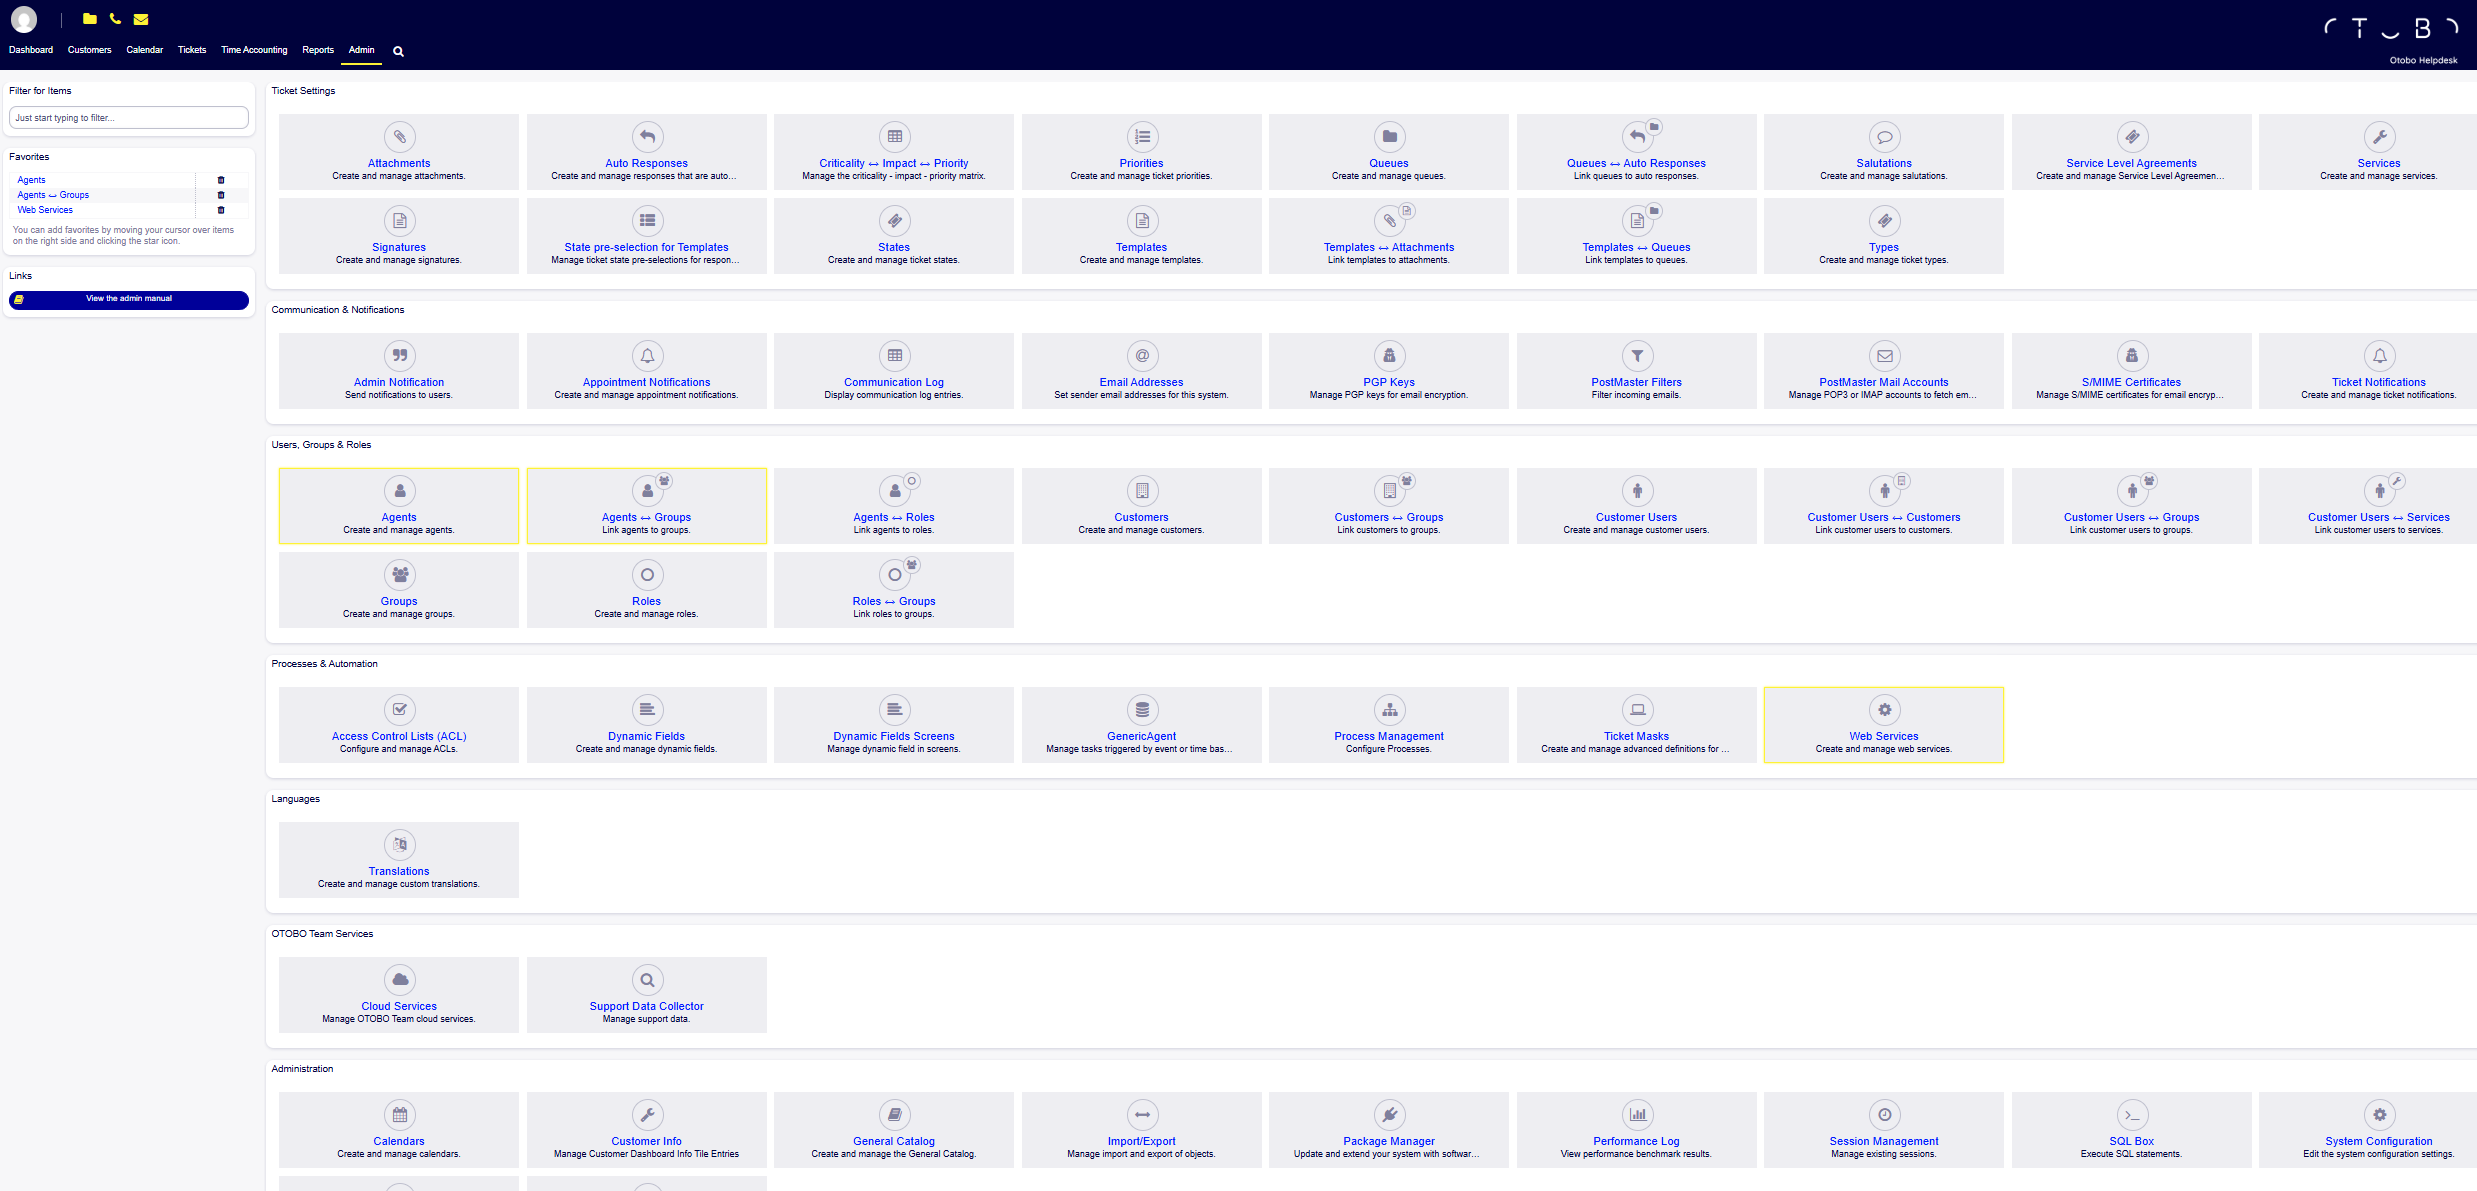
Step 2: Click “Add Agent”
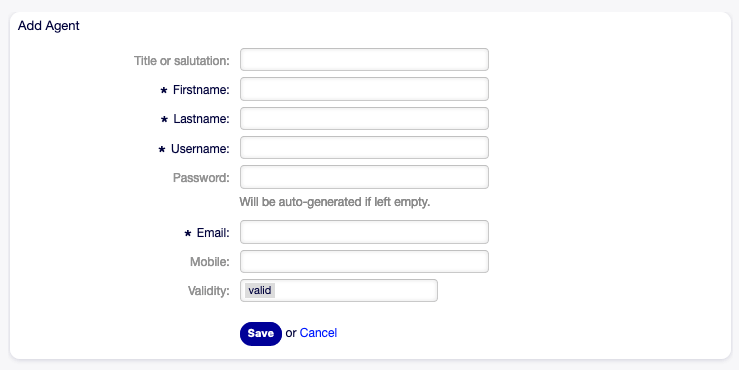
Fill in:
| Field | Value |
|---|---|
| Username | open_ticket_ai |
| Firstname | Open |
| Lastname | Ticket AI |
| (anything) | |
| Password | 16-character random password |
Generate a secure password
:::code-group
openssl rand -base64 32 | cut -c1-16# PowerShell
-join ((33..126) | Get-Random -Count 16 | ForEach-Object {[char]$_}):::
Step 3: Save the password as env var
Depending on your deployment, set the password as an environment variable:
OTAI_ZNUNY_PASSWORD=your_generated_password_hereYou can name it different but it needs to machth your Open Ticket AI config.
Never store this password inside Git.
Use .env + server secret storage.
2. Assign Permissions (Agents ↔ Groups or Agents ↔ Roles)
Open Ticket AI can only perform actions that the user is allowed to do.
Depending on your automation pipeline, you must grant:
| Automation Type | Required Permissions |
|---|---|
| Queue Classification | ro, move_into |
| Priority Classification | ro, priority |
| Note creation | ro, note |
| Ticket updates | ro, move_into, priority, note |
Option A — Assign via Groups (recommended)
Go to:
Admin → Agents ↔ Groups
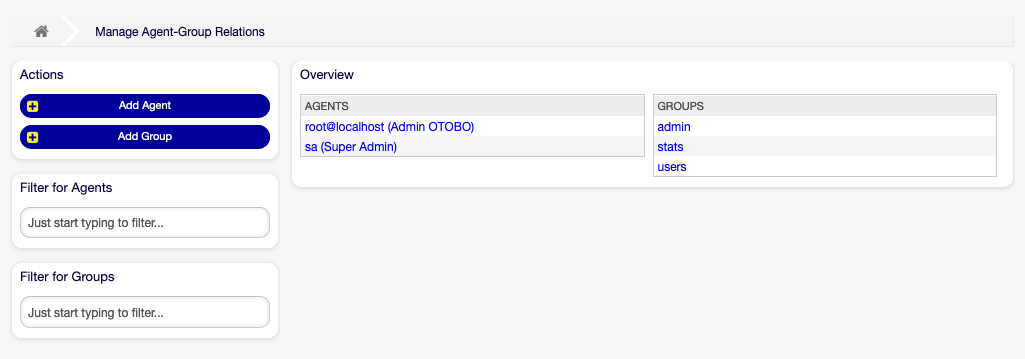
Select the agent open_ticket_ai and give permissions like:
| Permission | Meaning |
|---|---|
| ro | Read ticket |
| move_into | Move ticket into queue |
| priority | Change priority |
| note | Add internal notes |
rw if you need to create a ticket.
Option B — Assign via Roles (optional but scalable)
If your OTOBO uses Roles → Groups mapping, assign:
Admin → Agents ↔ Roles
Then ensure the Role has the required group permissions.
3. Ensure Queues, Priorities, and Fields Exist
Your automation pipeline refers to specific names such as:
- Queues: “IT”, “Real Estate”, etc.
- Priorities: “3 Mittel”, “5 Kritisch”, etc.
- Types, Services (if used)
You must manually confirm:
✅ Every Queue in your config.yml exists
✅ Every Priority your ML model predicts exists
✅ If you use “note” actions → Agent has permission
✅ Ticket types referenced in automation exist
If the name is wrong, the WebService update will fail.
4. Create the WebService “OpenTicketAI”
Go to:
Admin → Web Services
Step 1: Click “Add Web Service”

Then select Import Web Service.
Step 2: Import Webservice
Use the template shipped with Open Ticket AI:
Upload the file using the Import web service button.
This creates:
/ticket-get/ticket-update/ticket-search/ticket-create
All restricted so only the user open_ticket_ai may use them.
5. Why the WebService Is Restricted
The YAML you import includes:
ValueMap:
  UserLogin:
    ValueMapRegEx:
      .*: open_ticket_ai
This forces every inbound request to authenticate as open_ticket_ai
—even if an attacker sends arbitrary usernames.
This prevents:
- Password brute-force attacks
- API abuse
- Unauthorized ticket manipulation
With a 16-character random password, brute-force is impossible even under extreme load.
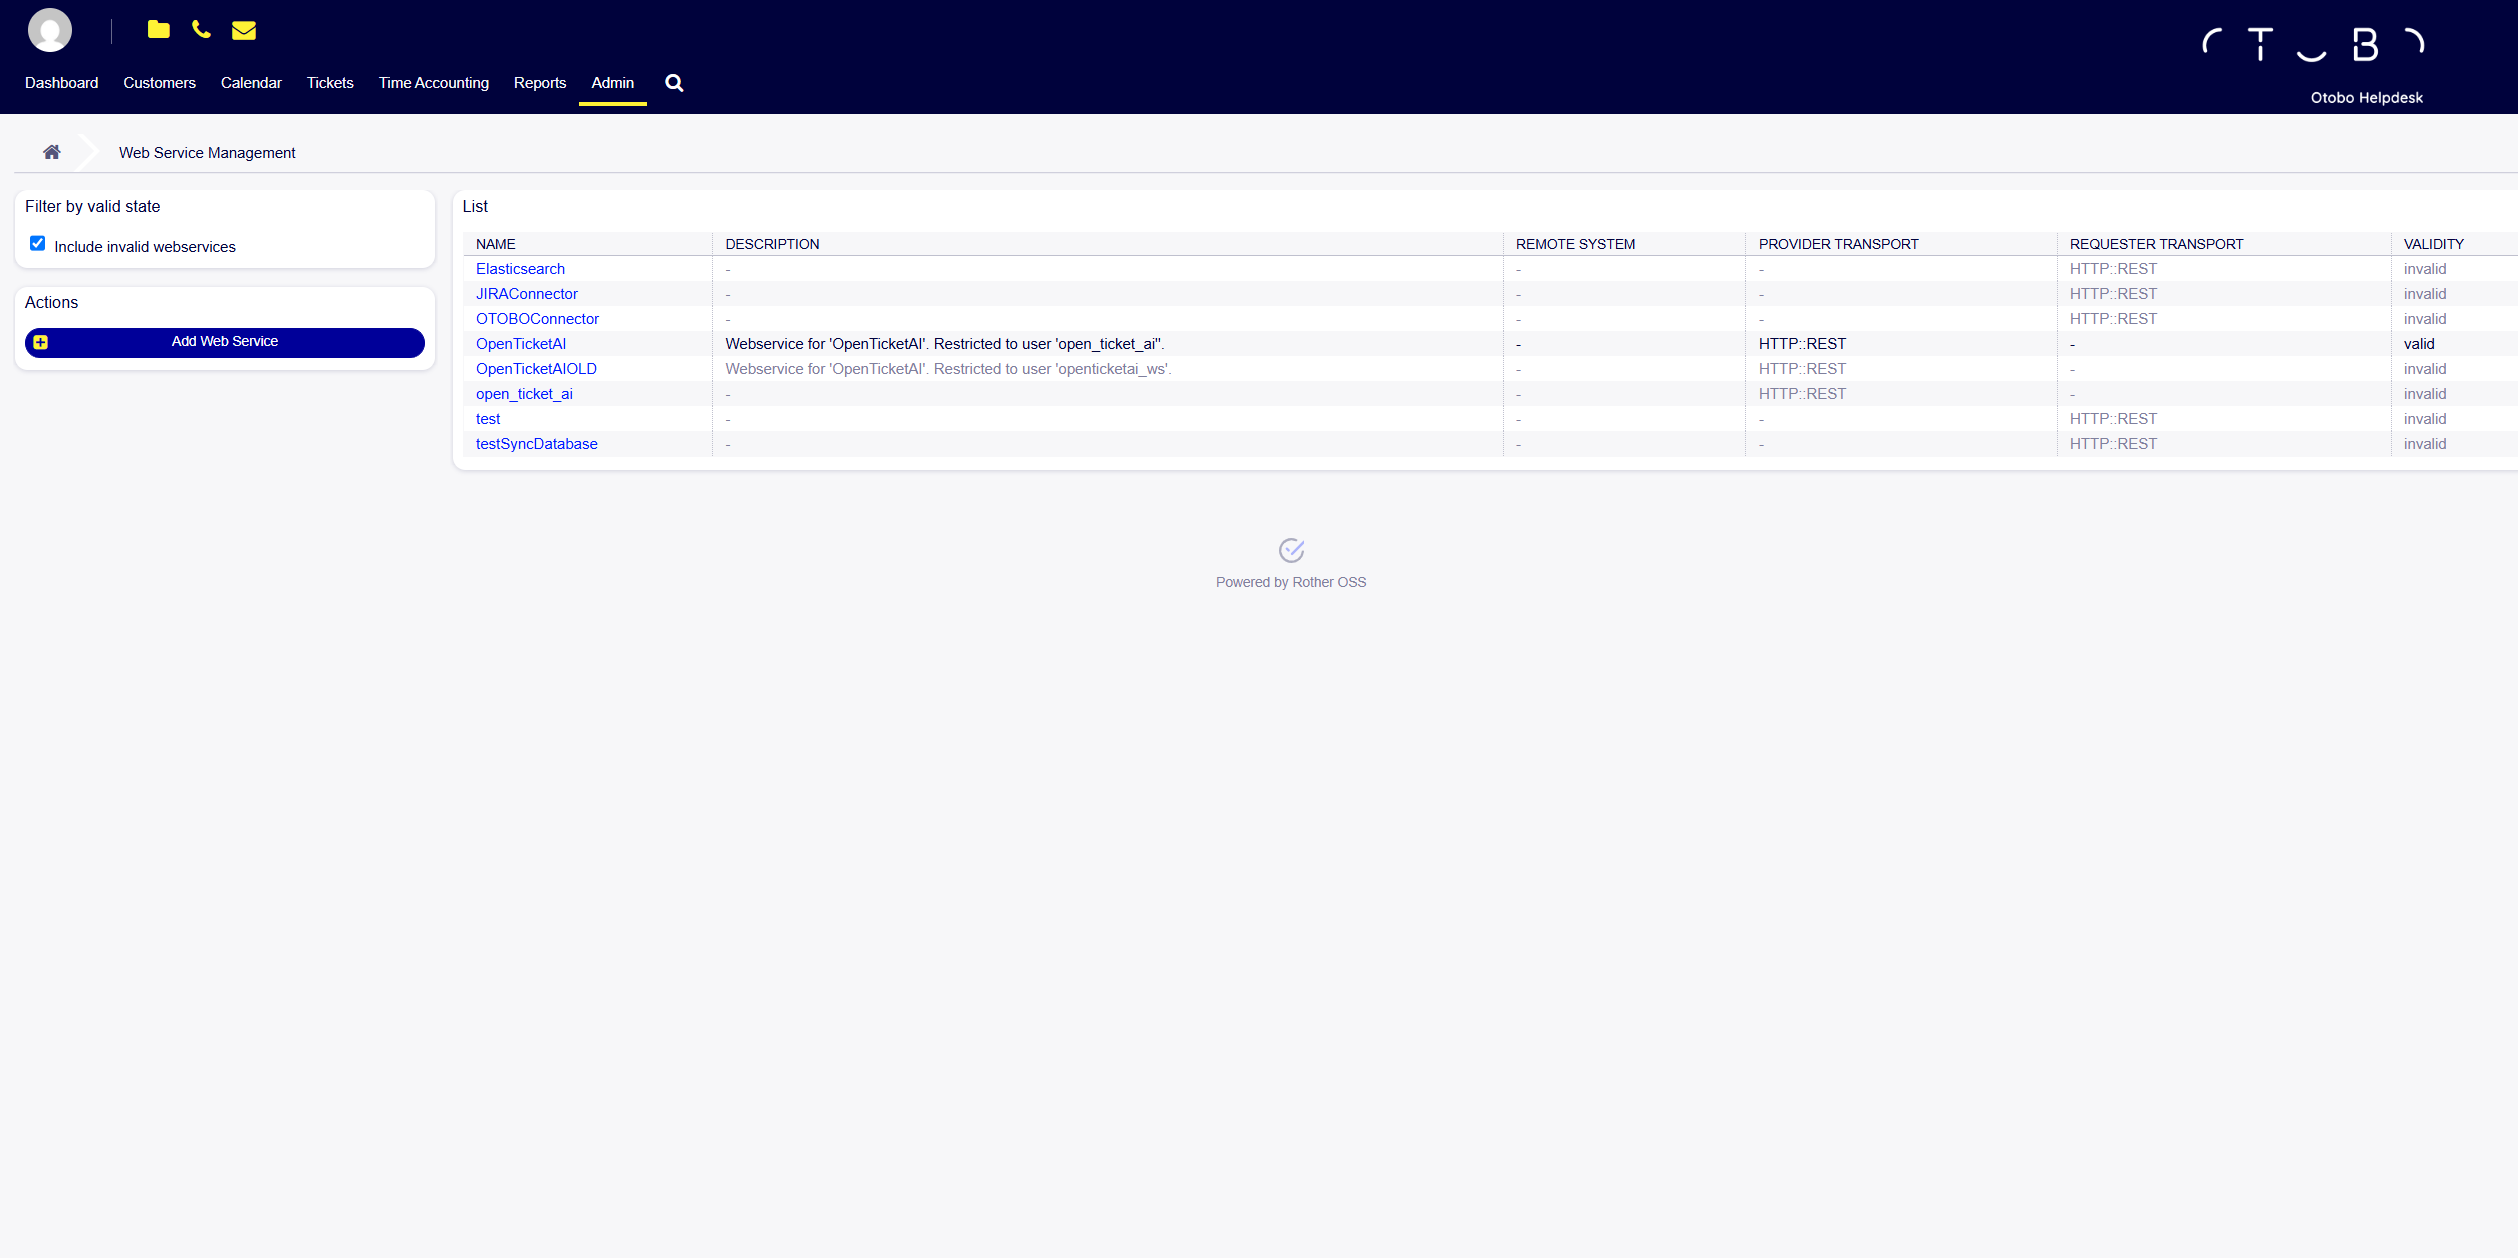
6. Verify WebService Is Active
After import, your list should show:
Look for:
✅ Name: OpenTicketAI
✅ Provider Transport: HTTP::REST
✅ Validity: valid
✅ Restricted to user open_ticket_ai
If not valid, edit → Save again.